

Guide to easy state persistence with SharedPreferences
A simple guide to using the SharedPreferences plugin to for state persistence in Flutter.

I am a developer from Nigeria. Currently learning and working on Mobile Application development with Flutter and Python development. I am interested in learning, creating new things and writing about most of them.
While working on mobile applications, the need to save state between application sessions could arise. For instance, when a user searches, it will be a good user experience for the user to be able to select from the list of previous searches rather than typing the same thing again. Another case is saving a user’s email, so the user doesn’t have to enter the email again on subsequent login sessions except it is a new user. To achieve the cases mentioned and multiple other state-saving cases the topic, “State Persistent” comes up. This article describes the general overview of state persistence and demonstrates using the shared_preferences plugin for persisting state in Flutter applications.
State & State Persistence
State simply refers to the widget data stored in memory at any point in time.
State persistence can also be said to be storing data through different application sessions. This simply means storing data even when the user closes the application.
There are multiple ways of persisting state in Flutter applications; one such is using the shared_preferences plugin.
Shared Preferences
shared_preferences is a Flutter plugin for saving state using simple key-value format. Of the different ways of state persistence in Flutter, using the shared_preferences plugin is the simplest. However, the shared_preferences plugin cannot save complex data; it saves simple data.
Utilizing shared_preferences in a simple application
Now that you have an overview of what the shared_preferences plugin is used for. You will learn to use the shared_preferences plugin in a simple search application where a user enters a search value. The search value is stored and can be easily accessed between application sessions.
To get started, do the following:
Create an application, preferably named “SharedPreferences Demo”.
Clear the existing boiler code
Add the shared_preferences
Add the shared_preferences plugin to your application in pubspec.yaml, under dependencies. This gives access to the SharedPreferences class.
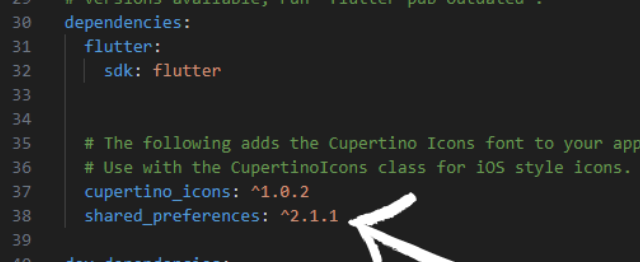
Save the file or run flutter pub get in the terminal.
Creating the home file
Create a new file titled home.dart. This file will contain the search box and also the list of previous searches. Proceed as follows:
Import the shared_preferences package to the
home.dartfile.
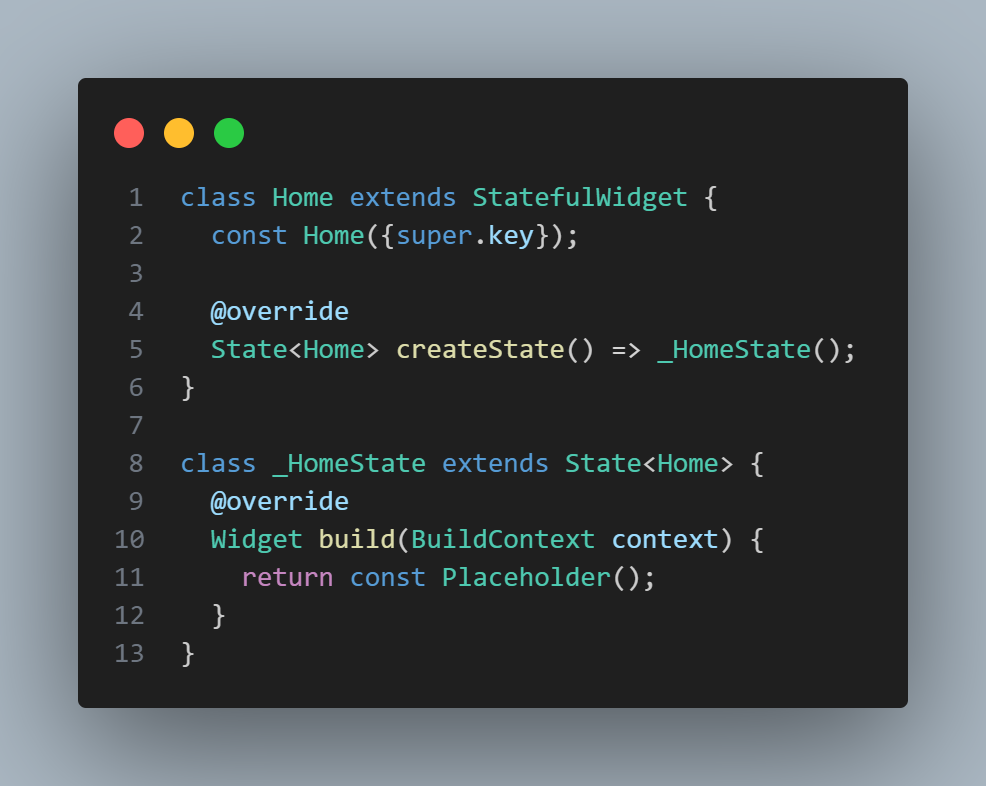
Create a new StatefulWidget titled
Home.
Creating the search component
In the Home widget, modify the existing code to the following:
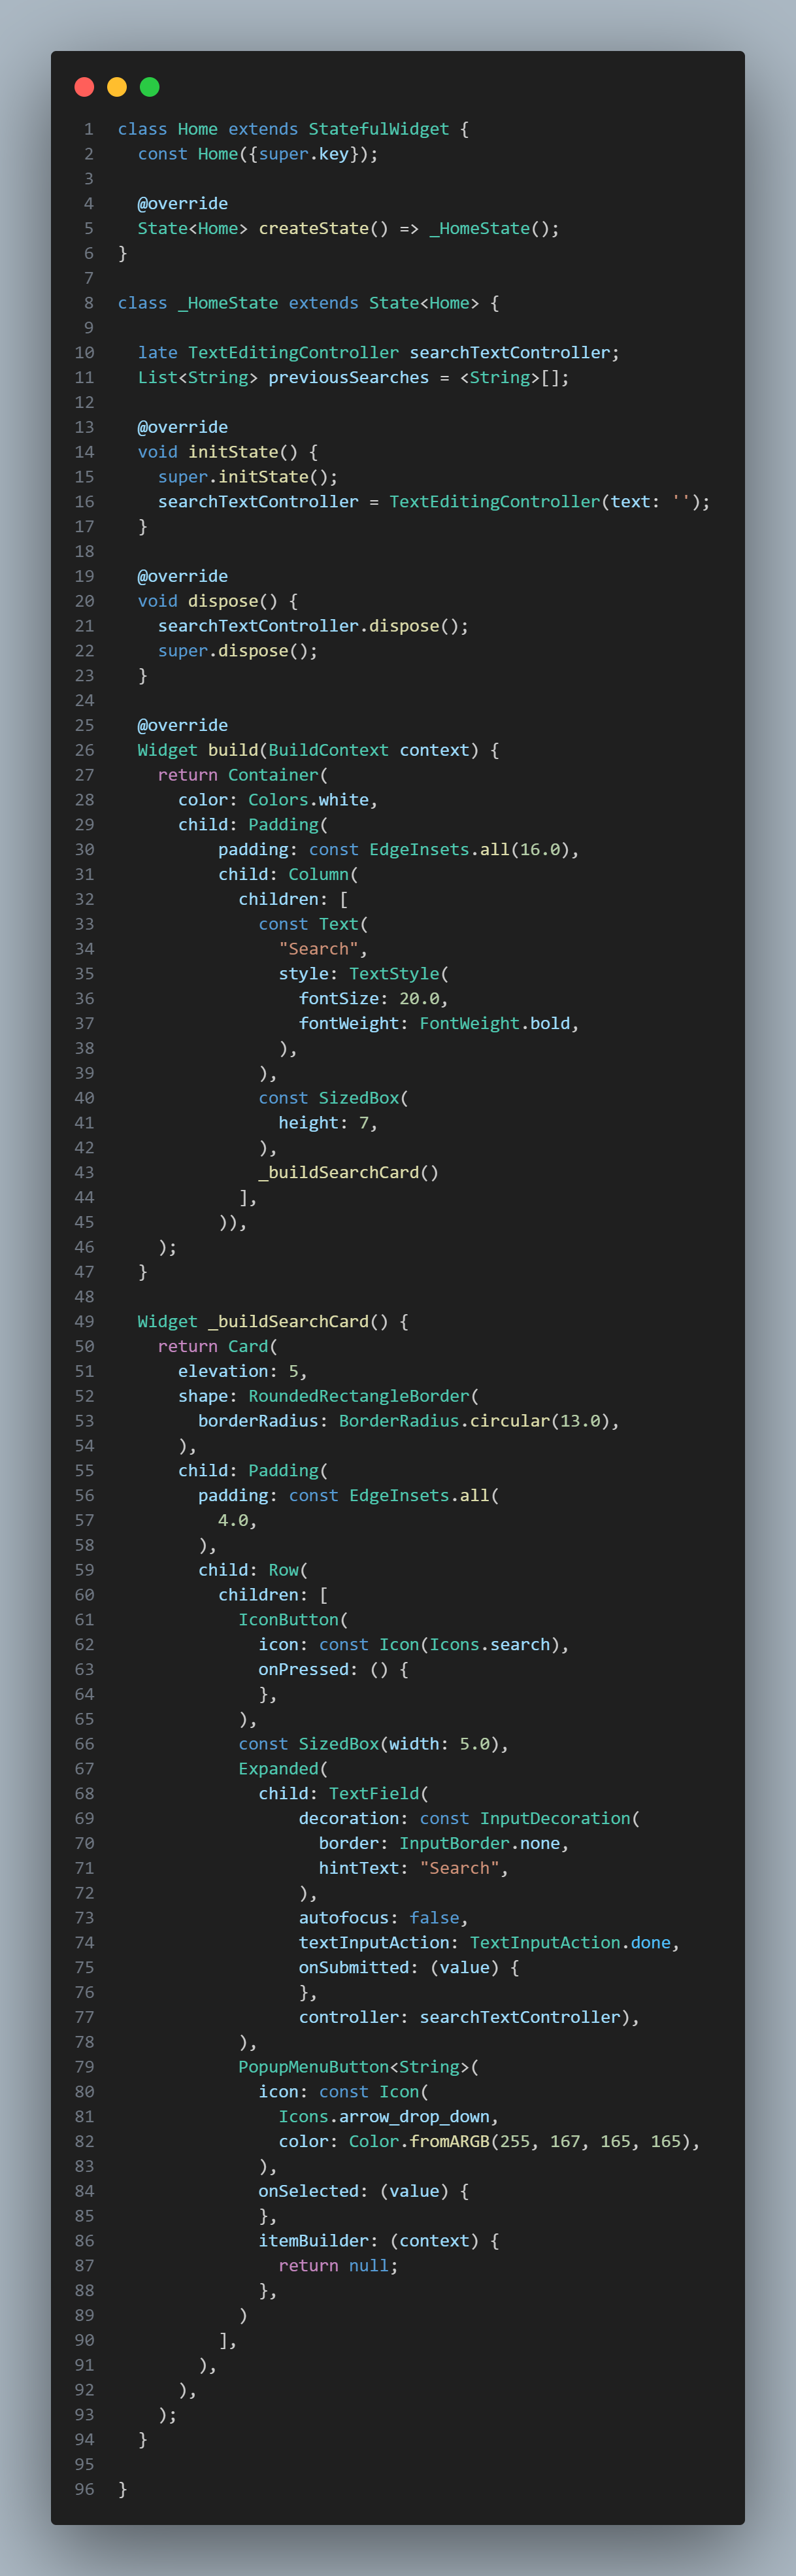
This code builds a search box, search icon, and a pop-up menu button that shows the list of previous search items. Ignore the red error lines, as you will sort that out soon. The search box makes use of a TextEditingController, which is added in the initState method to start with an empty searchbox when the widget is mounted and called in the dispose method to clear any resources used by the controller.
Utilizing shared_preferences for list of search items
For the application to be able to save a list of searched terms, we need to make use of the SharedPreferences class. Under the _HomeState class, do the following:
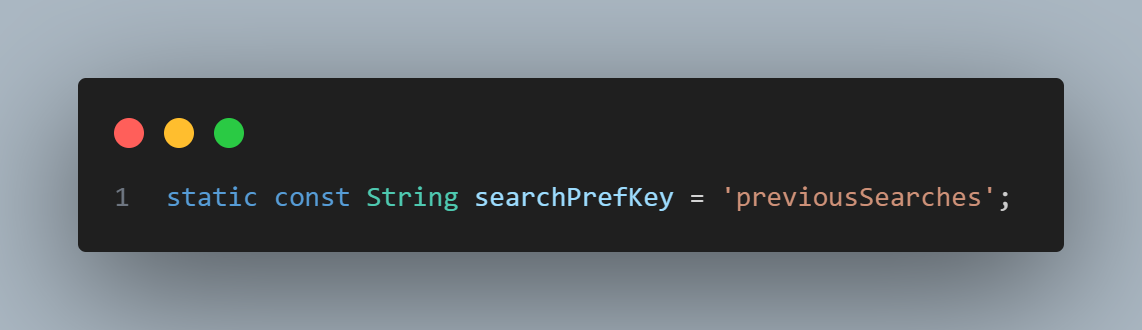
- Add a variable which serves as the “key” for the searches.
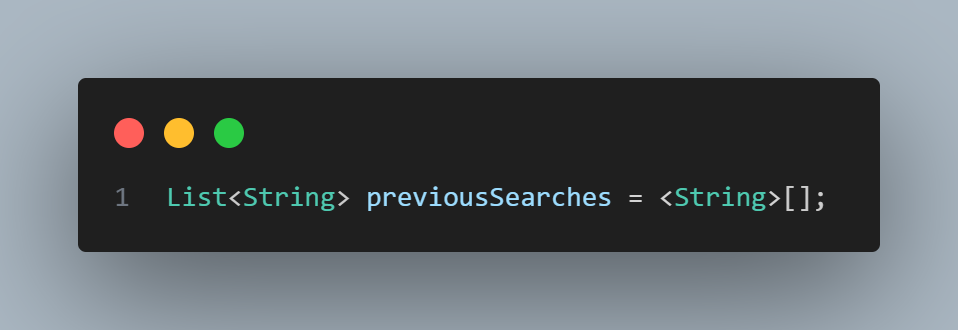
- Add an empty list, which saves the previous searches done.
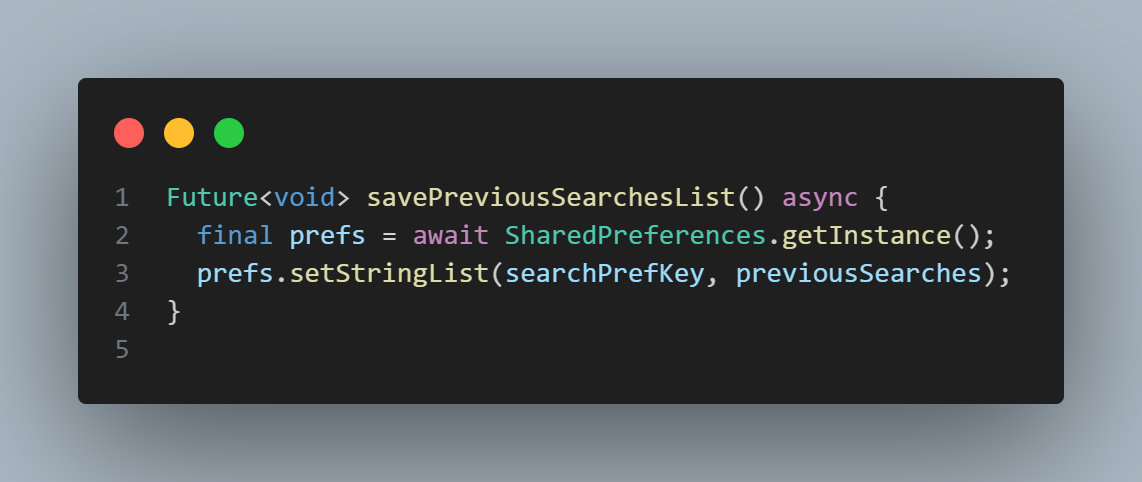
- Create a new method with the code below. This method is used to save previous searches.
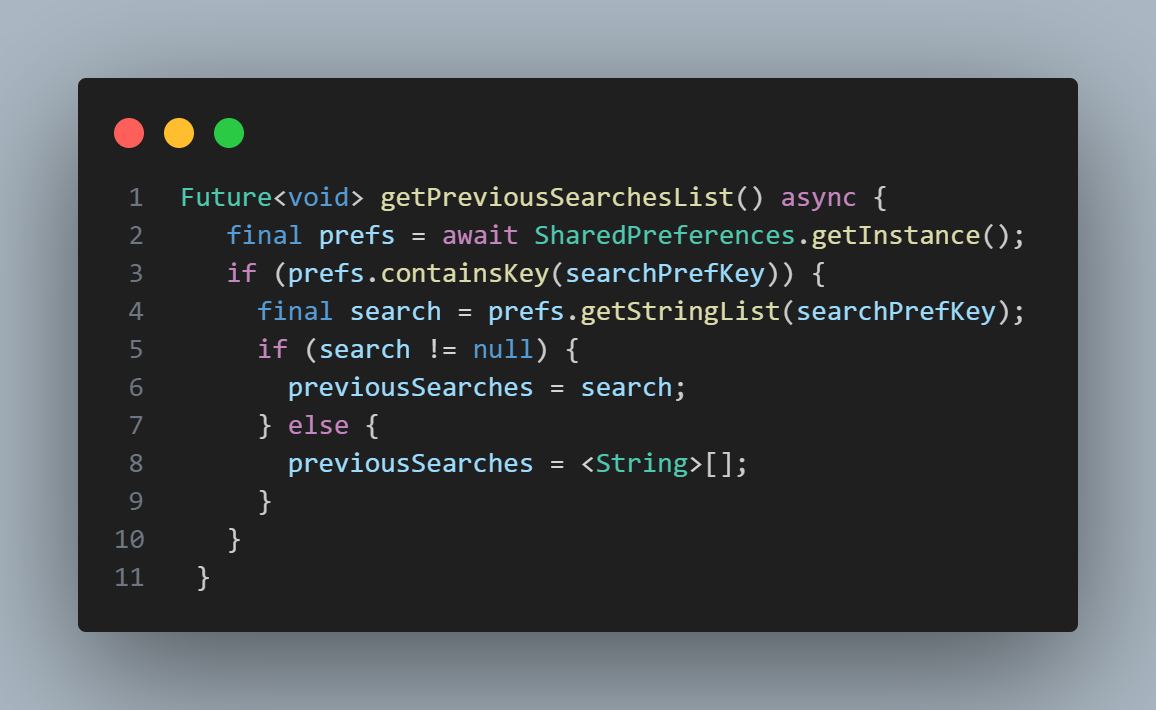
- Create a new method with the code below. This method is used to get previous searches.
- Create a
searchItemmethod.
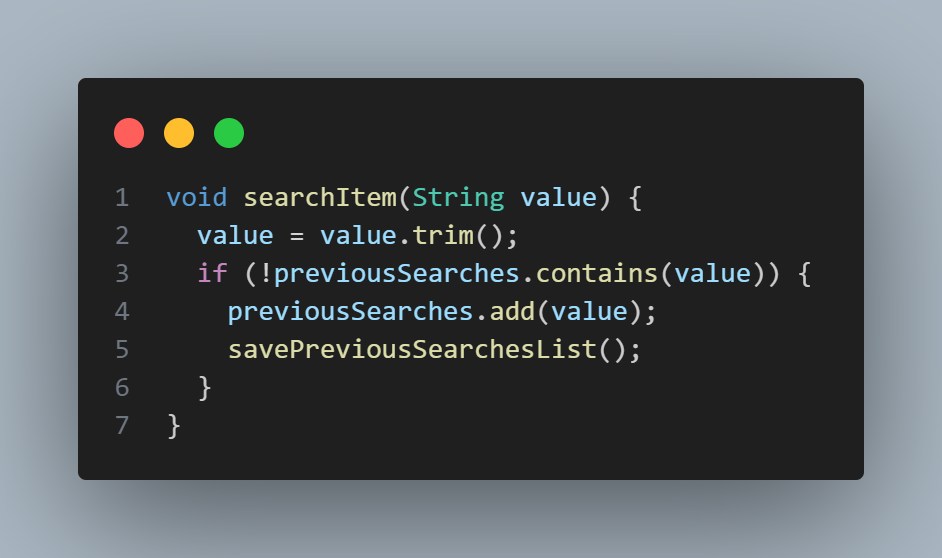
Function of this searchItem method is to run the search when the keyboard done button is pressed, or the search icon is pressed. In a real application, there should possibly be an API call attached or a more sophisticated process. But for simple demonstration, when the icon is pressed, or the keyboard submitted button is pressed, the method is called and it simply saves the search item.
Adding the search process
In the home.dart file, add a function to the search icon, when the submitted button is clicked. Under the onPressed argument of the IconButton, add the following:
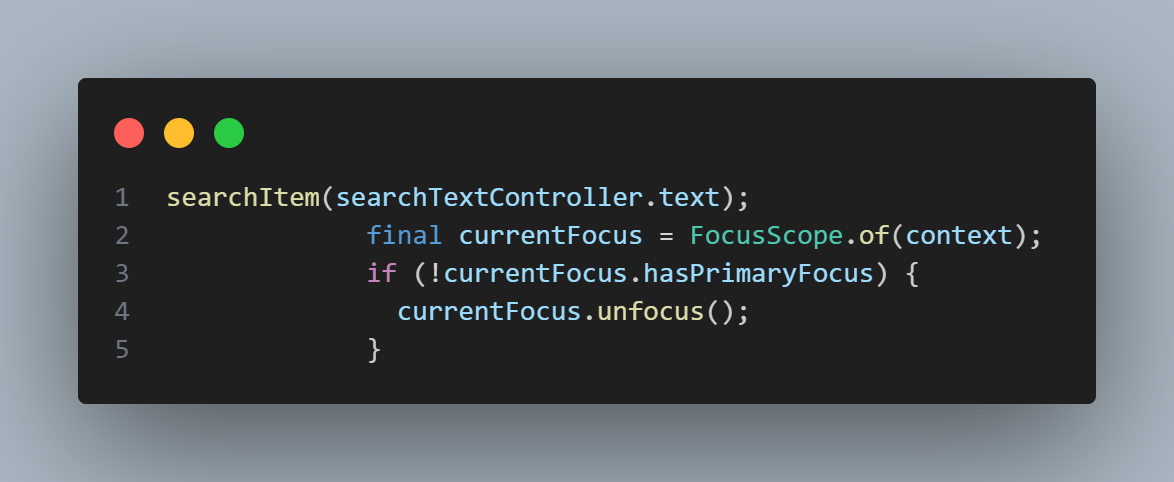
The above code runs the search when the search icon is clicked and also remove focus from the TextField (search bar).
Adding the custom pop up button
The next thing you do is create a new widget that displays the previous searches item. To do that, you create a new file named custom_popup_menu.dart. Add the following code to the file.
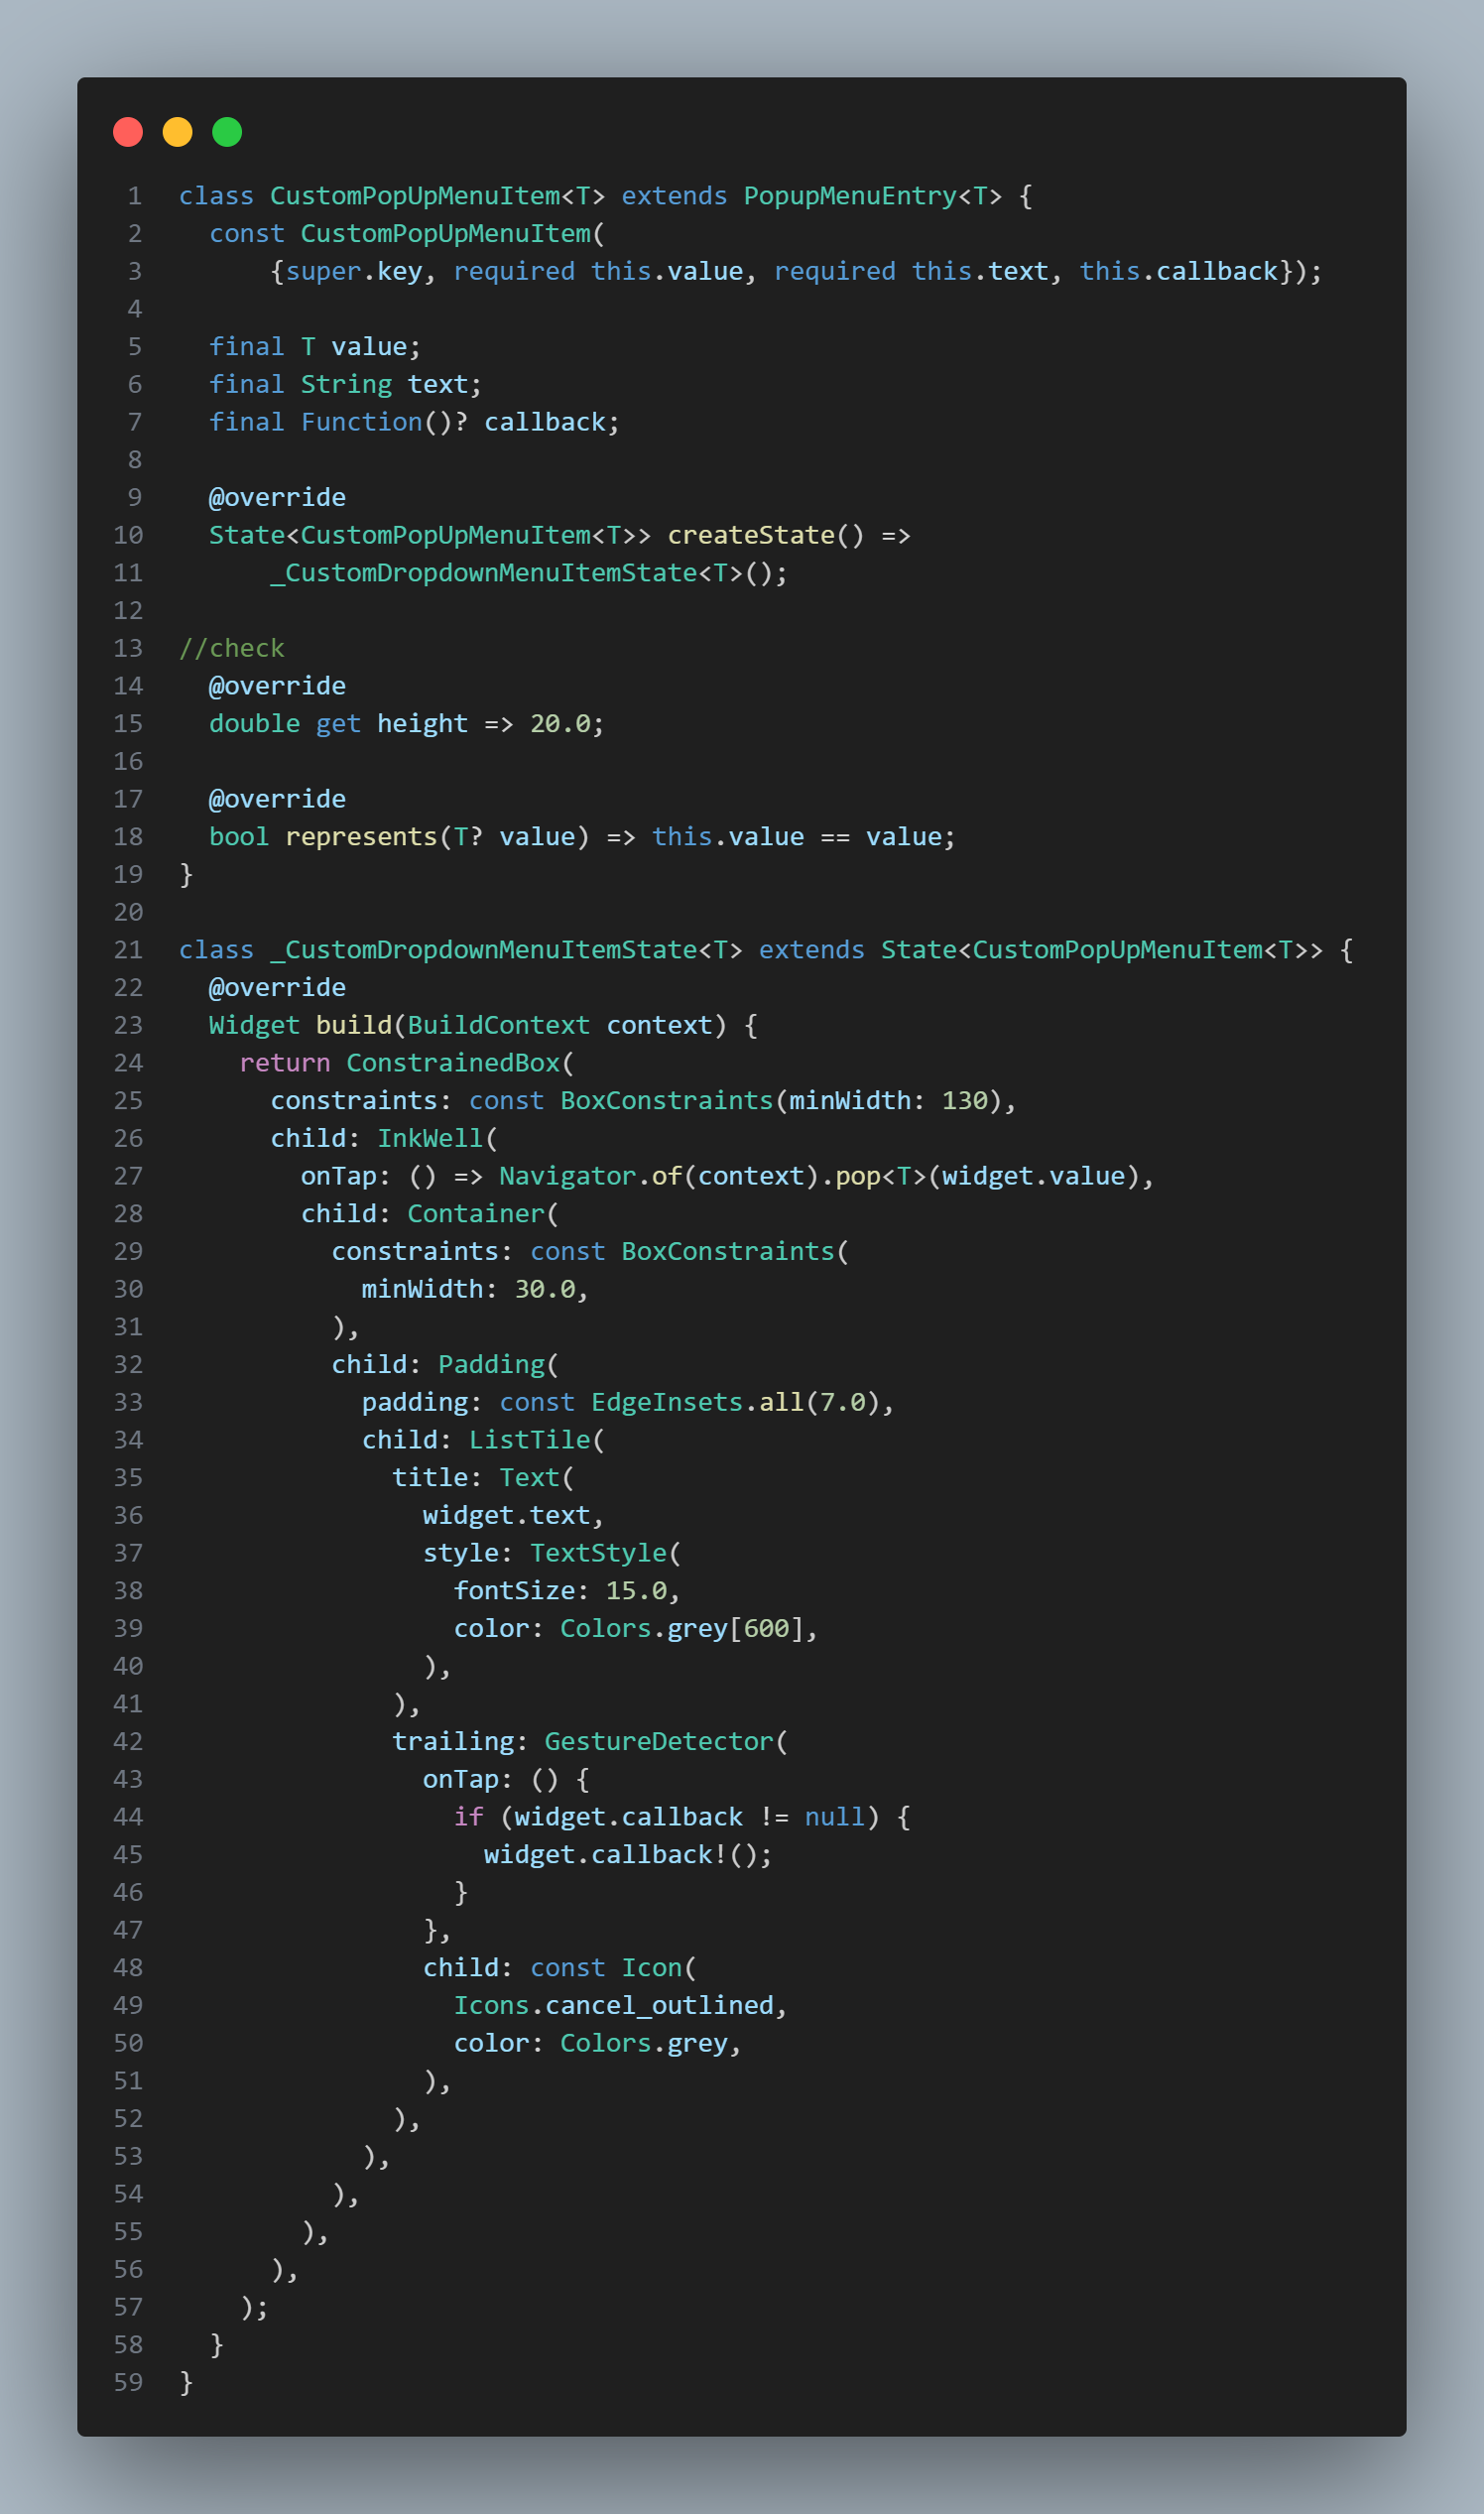
The code simply customizes our popupmenu with a suitable UI display.
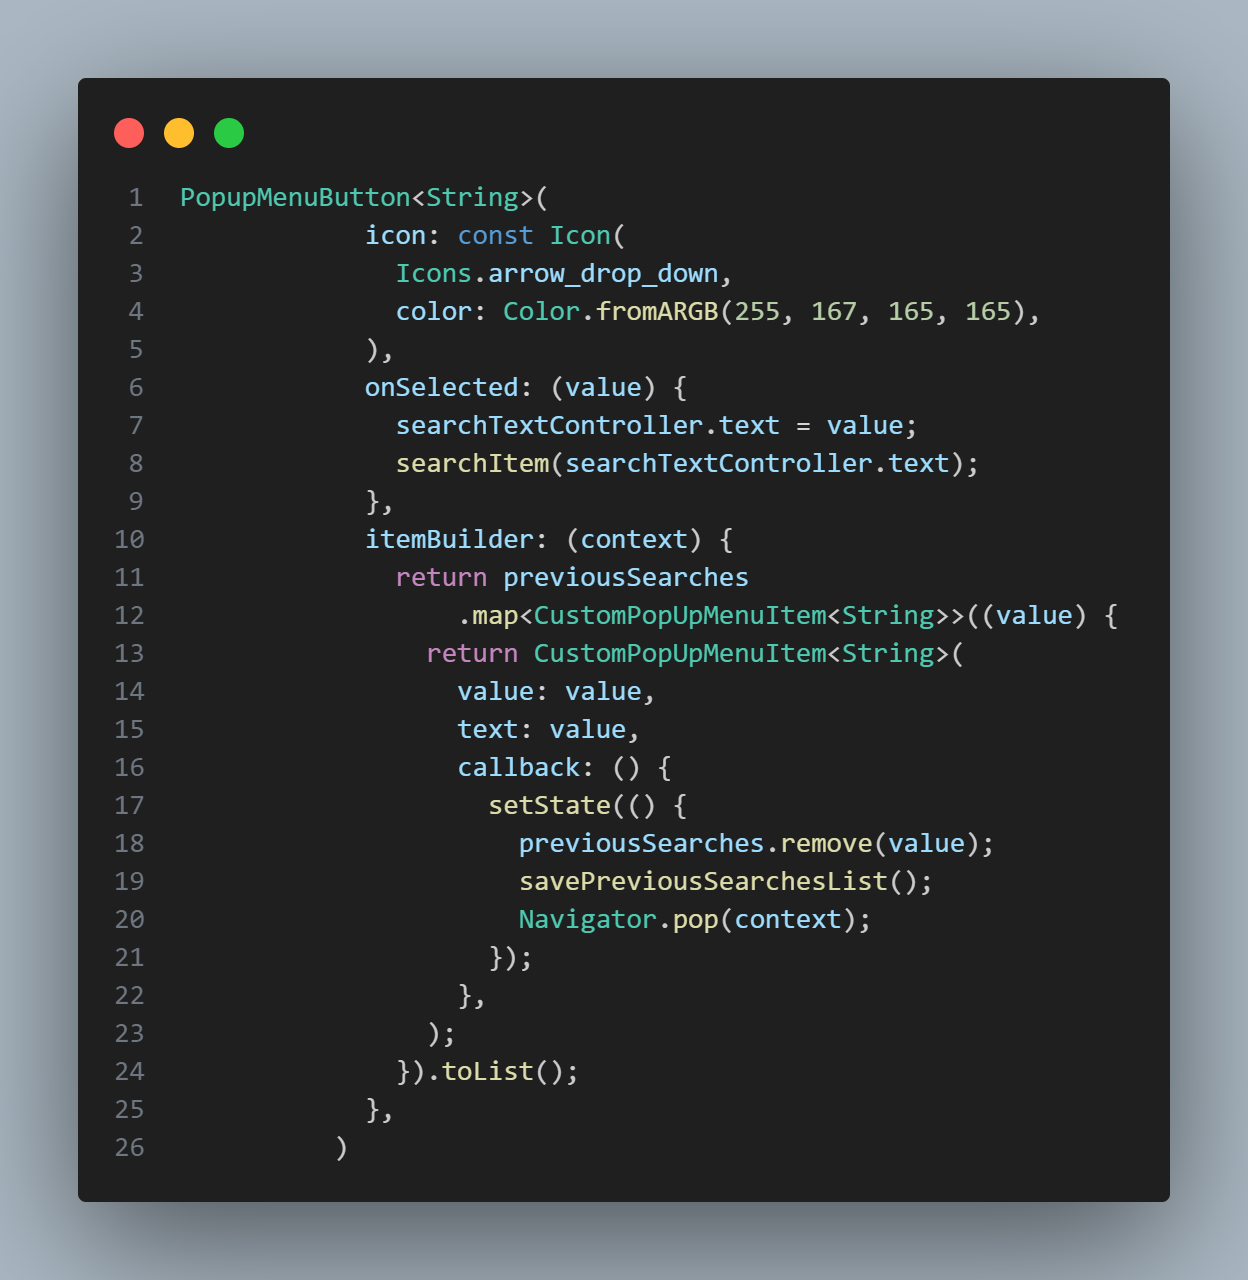
Displaying the previous searches
In the home.dart file, refactor the pop_up_icon_menu to make use of a PopUpMenuButton by adding the following code.
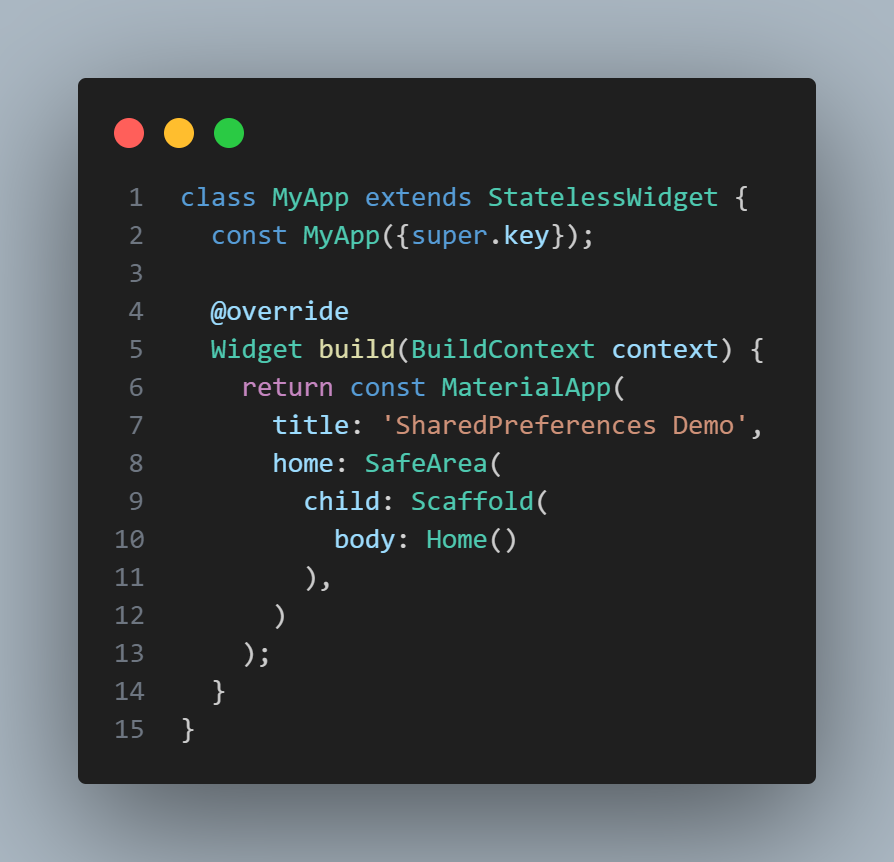
After all that is done, open your main.dart and add the created widget under MaterialApp.
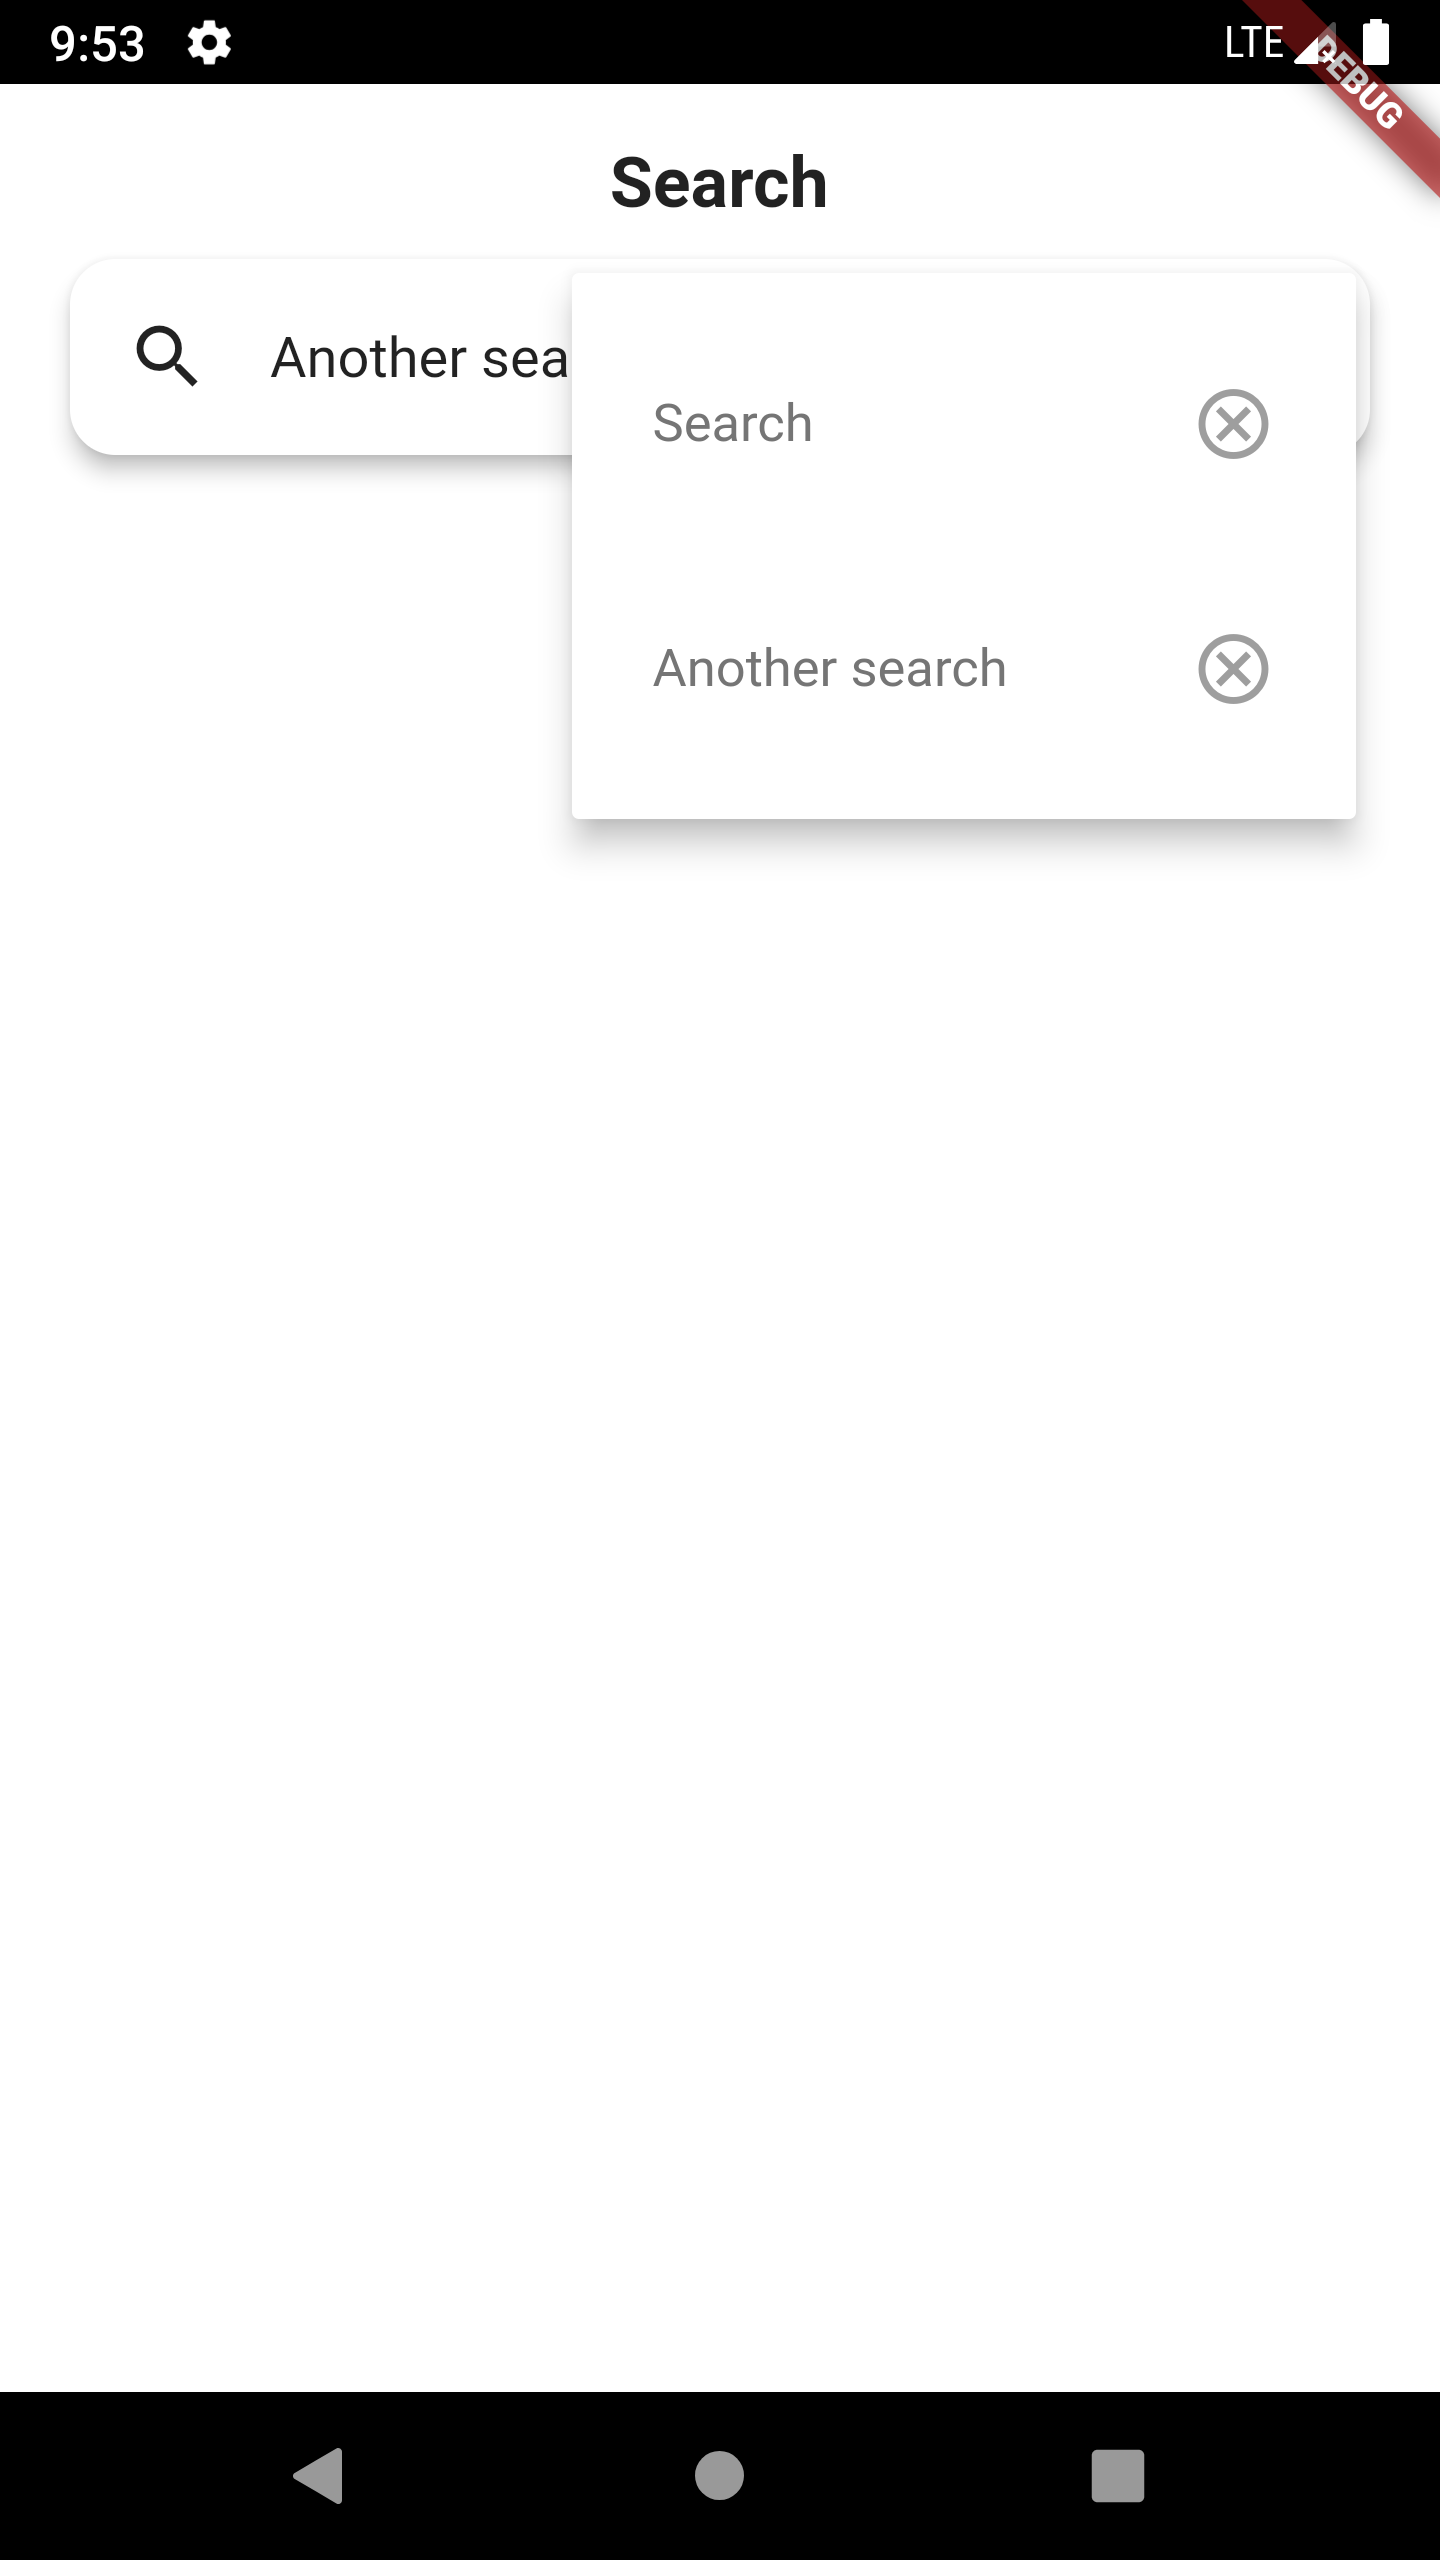
Outcome
On running the the code, you will see the below images when searches are performed.

Conclusion
This article describes the use of SharedPreferences for simple state persistence in Flutter. The application of SharedPreferences was demonstrated by building a simple application where a user searches for stuff, and the search item is saved between application sessions such that the user can easily make use of the previously searched item. SharedPreferences was applied in this little use case for demonstration; you can take the information described and implement it as you desire to an application or use case of your choice. To read more about SharedPreferences in Flutter, check the official documentation at pub.dev. I hope you found this article helpful and enjoyed reading. For the full code, you can check this Github link.


